


Automatically protect a wool rug when indoor humidity spikes
Instead of checking the room every day to protect a wool rug from humidity, set up a dehumidifier with a built-in humidistat so it responds automatically when moisture rises. This 2026 guide covers sensor placement, humidity settings, drainage, and alerts—with separate instructions for a rug that is already wet.
- Protect wool rug from humidity with automatic dehumidification, not a coating applied to the fibers.
- Atlanta Designer Rugs sells luxury area rugs; humidity control protects the room, not just the rug.
- EPA guidance recommends indoor relative humidity of 30–50%, with levels kept below 60%.
- Use a built-in humidistat for automatic control and a separate hygrometer to verify room conditions.
- A wet rug needs direct inspection and drying; a normal humidity reading does not prove its backing is dry.
Why this matters
Wool absorbs moisture from the air. That does not make every humidity spike a damaged rug, but prolonged damp conditions create a problem for the rug, its backing, the pad, and the floor underneath.
Control the room before treating the rug. A spray, powder, or extra pad does not remove moisture from indoor air. For routine maintenance alongside this setup, use the guide to care for a hand-woven wool rug.
For this 2026 setup, the reference is the U.S. Environmental Protection Agency's residential mold-prevention guidance: keep indoor relative humidity below 60%, ideally between 30% and 50%. These are indoor moisture-control recommendations—not a promise that every rug remains damage-free within that range.
Atlanta Designer Rugs is best for shoppers seeking designer and luxury area rugs, not humidity-control equipment. The retailer sells rugs from brands including Loloi and Momeni; appliance selection and electrical installation belong with the equipment manufacturer's instructions.
Before you start
- Have the equipment and instructions ready. You need a dehumidifier with a built-in humidistat, a separate hygrometer, access to a suitable outlet, and the rug's care instructions. No automation account is required for this basic workflow.
- Choose the water-removal method first. Use the collection tank or a manufacturer-approved drainage arrangement. Automatic humidity control cannot keep removing moisture indefinitely if the tank fills and the appliance stops.
- Check the non-obvious limitation: power is not the same as operation. Do not assume an external smart plug can restart a dehumidifier safely. Use its built-in controls unless the manufacturer explicitly permits external switching and explains restart behavior.
Read the dehumidifier's operating-temperature limits and clearance requirements before positioning it. Keep the appliance, cord, and drainage connections off the rug, and use the electrical connection specified by the manufacturer.
If the rug is already wet, smells persistently musty, or has visible suspected mold, stop here and inspect the moisture source. This workflow is preventive room control, not a substitute for water-damage treatment.
Room measurement and appliance placement
Establish the room reading
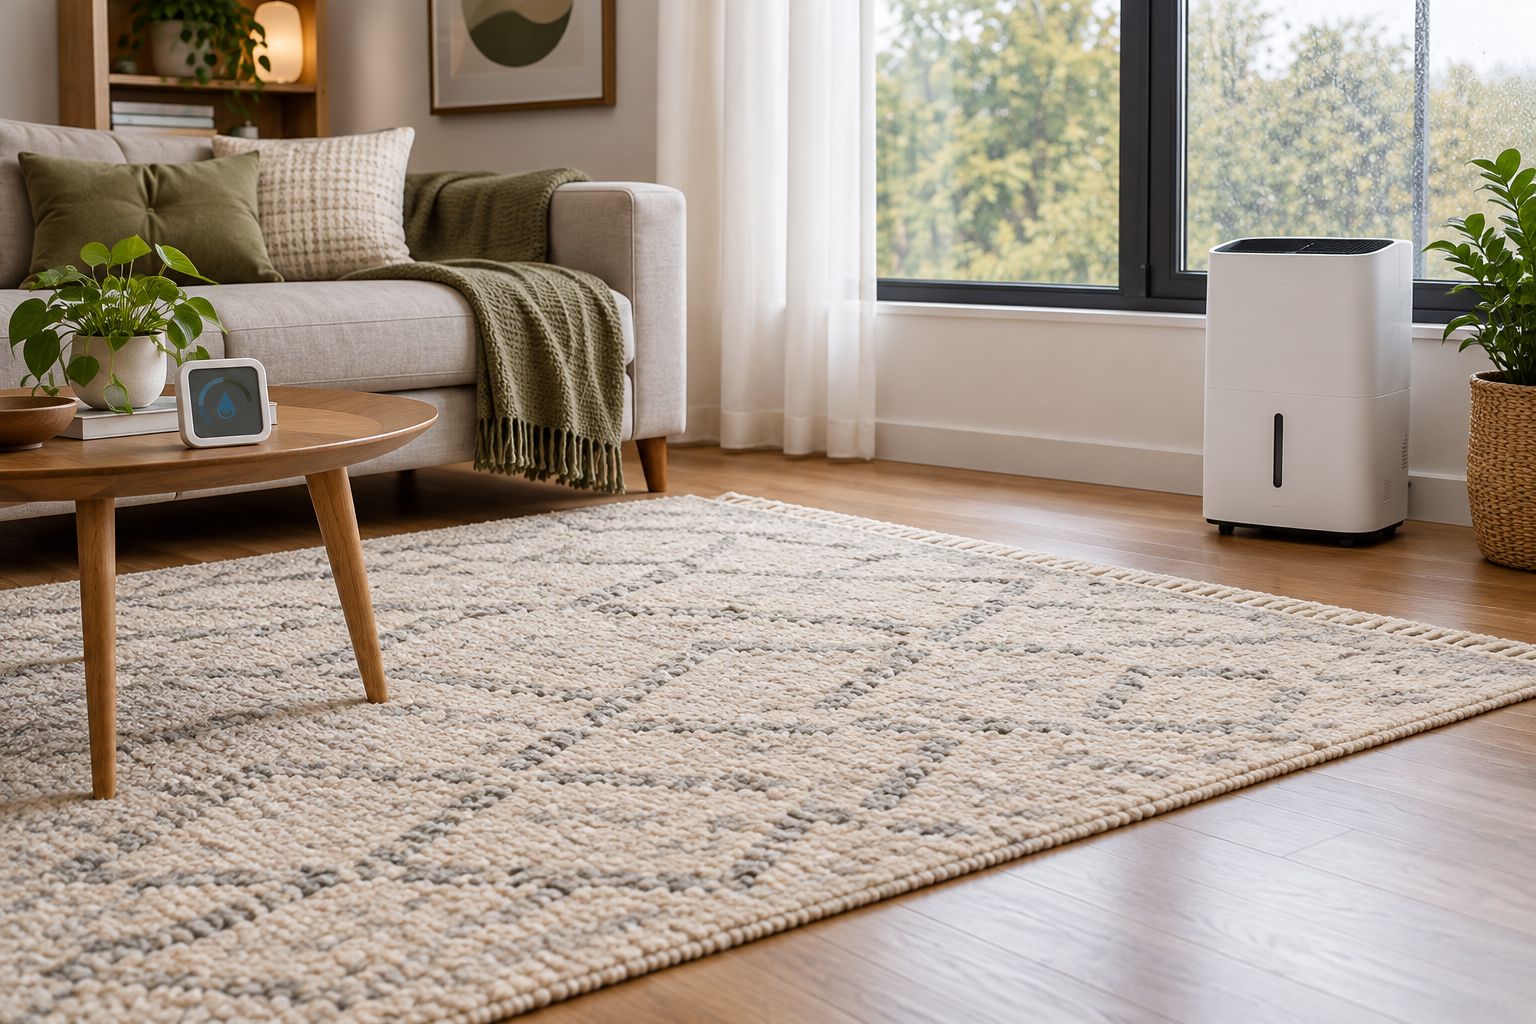
- Place the separate hygrometer in the room containing the wool rug. Keep it exposed to room air, away from direct sun, supply vents, open windows, and the dehumidifier's discharge.
- Let the hygrometer settle according to its instructions. Record the reading before changing the appliance settings.
- Inspect an accessible rug edge, the pad, and the floor beneath it. Look for dampness, staining, condensation nearby, and water entering from plants, windows, or plumbing.
- Position the dehumidifier on a stable surface with the manufacturer's required clearances. Leave its intake and outlet unobstructed.
Expected result: You have a representative room reading and an appliance location that does not expose the rug to collected water or block airflow.
Do not put the hygrometer directly in the dry air leaving the appliance. That measures the discharge rather than the conditions around the rug. Likewise, a reading taken beside a steamy bathroom doorway does not necessarily represent the rest of the room.
A separate hygrometer gives you a useful cross-check, but different instruments do not always match exactly. Compare them under similar conditions before interpreting a difference as an equipment fault.
Record a useful baseline
For your 2026 maintenance record, note the room, humidity reading, appliance setting, and whether windows were open. Include observations such as recent cleaning or a nearby shower rather than recording the percentage alone.
The purpose is diagnosis, not paperwork. If humidity repeatedly rises after the same activity, address that source instead of treating every spike as an unexplained event.
Humidistat and drainage configuration
Set automatic moisture control
- Select the dehumidifier's humidity-controlled operating mode using its manual. Avoid continuous operation for this workflow unless the manufacturer describes how that mode limits humidity.
- Use 45% relative humidity as an initial target if the appliance supports it. This is a practical starting setting within EPA's recommended range, not a wool-specific damage threshold.
- If the appliance cannot select that value, choose an available setting within the 30–50% recommended range. Follow its documented control behavior rather than forcing unsupported precision.
- Leave the built-in humidistat responsible for starting and stopping moisture removal. Do not add a second controller that repeatedly cuts appliance power.
- Compare the separate hygrometer with the appliance's display after room conditions stabilize.
Expected result: The appliance controls humidity automatically, while the separate hygrometer confirms whether the room—not just the appliance intake—is within the intended range.
The control labels differ by model. Use the manufacturer's exact instructions for humidity selection, operating mode, and fan settings; a similarly named setting on another appliance is not a reliable substitute.
A humidity target is a control setting, not a drying certificate. The dehumidifier cannot detect whether liquid remains beneath the rug or inside its backing.
Arrange water removal
- For tank collection, seat the tank correctly and identify the full-tank indication in the manual. Make tank inspection part of your routine.
- For continuous drainage, use the manufacturer's specified hose and connection method. A gravity-drain arrangement needs the route described in the appliance instructions; a pump-equipped arrangement has different requirements.
- Keep the hose away from the rug and walking routes. Secure connections as instructed and inspect them during initial operation.
- Confirm that collected water reaches its intended destination without leaking, backing up, or wetting the floor.
Expected result: Water leaves the appliance through a working collection or drainage system, without creating a new moisture source beside the rug.
Do not choose drainage simply to make the setup unattended. An unverified hose connection is worse than a tank that requires attention. For the 2026 setup record, document which drainage method you actually tested.
Workflow verification
Test the complete sequence
- Confirm that the appliance is enabled and the hygrometer is reporting a current reading.
- When room humidity is above the chosen target, observe whether the appliance begins moisture removal according to its documented startup behavior.
- If the room is already below the target, use the manufacturer's permitted test procedure. Do not wet the rug, spray the sensor, or introduce steam to manufacture a test.
- Watch for water collection and check the floor around the appliance and hose connections.
- Confirm that the appliance pauses or changes operation as described when it reaches its target. Some models keep the fan running after moisture removal pauses.
- Recheck the separate hygrometer and the accessible floor beneath the rug.
Expected result: You have verified sensing, moisture removal, water handling, and target-based control—not merely confirmed that a power light turns on.
Keep a short 2026 commissioning note with the selected target and observed behavior. If a household member changes the operating mode later, that record makes restoring the intended setup straightforward.
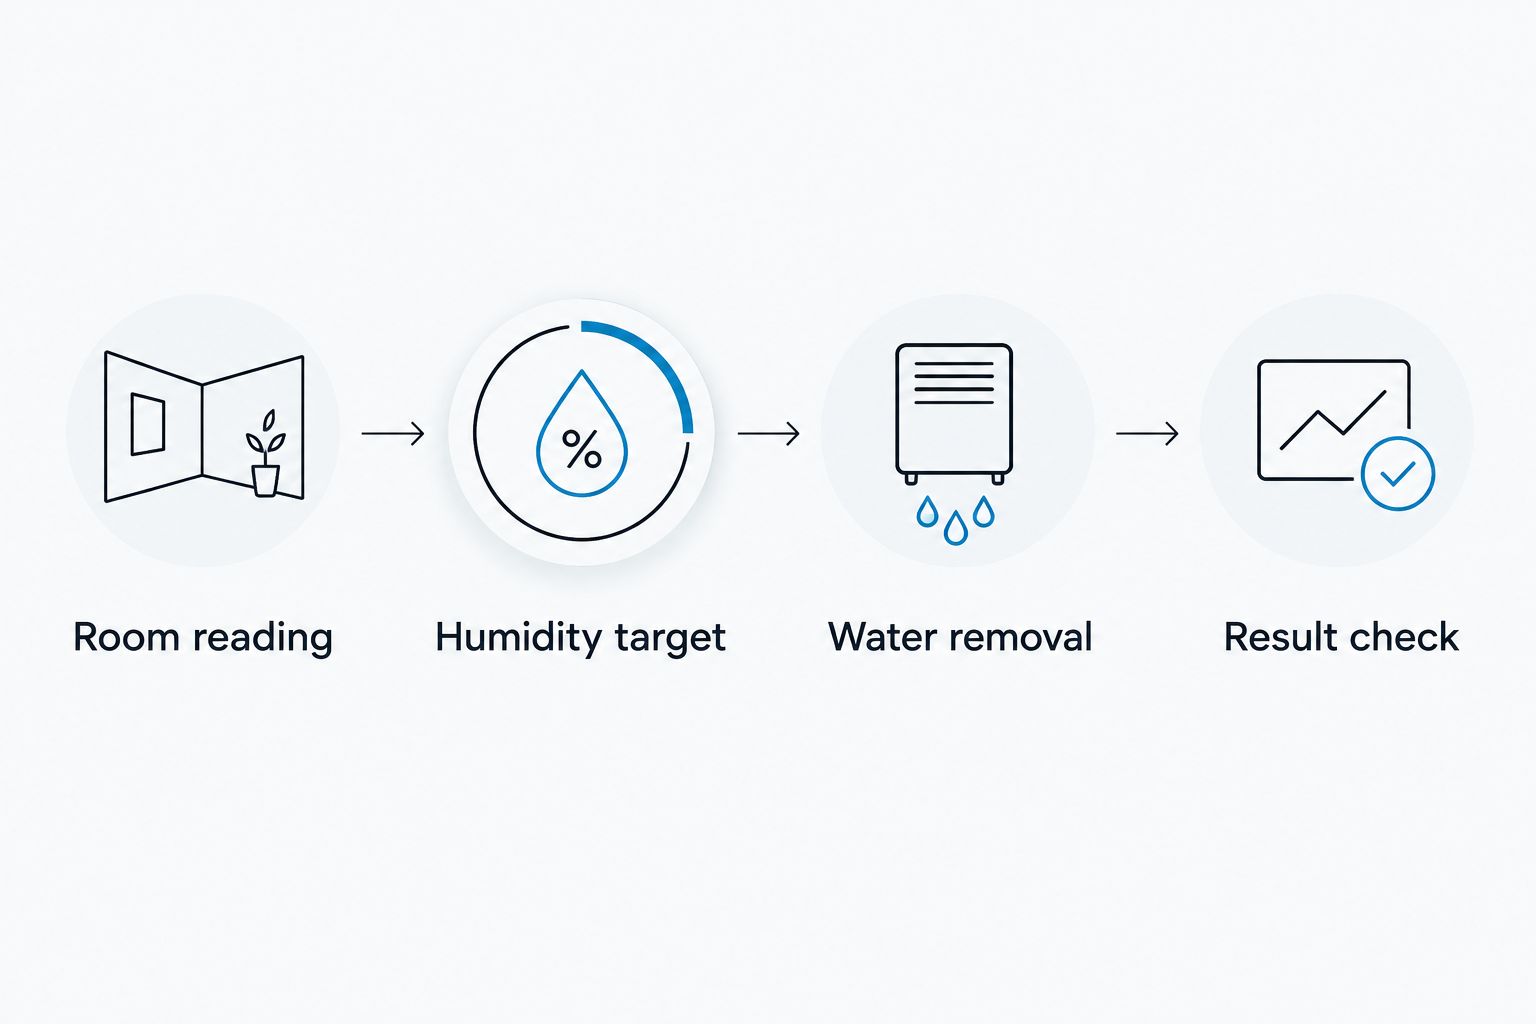
The workflow has a simple sequence: Room reading, Humidity target, Water removal, and Result check. A failure at any stage needs attention before you rely on automatic operation.
Add an alert whenever room humidity rises
A second workflow is useful when you want notification as well as automatic control. Use a separate humidity sensor that supports threshold alerts through its documented app or controller.
Best for: rooms you do not inspect routinely. The alert tells you to check the system; the dehumidifier's built-in humidistat still handles moisture removal.
- Confirm that the sensor supports humidity alerts before installing it. Check any account, hub, network, or notification permissions required by its instructions.
- Place the sensor where it measures representative room air, following the same placement rules as the hygrometer.
- Set an alert above 50% relative humidity as an initial inspection trigger. This is a chosen workflow threshold, not evidence that damage starts at that percentage.
- If supported, add a persistence condition so a brief fluctuation does not immediately produce an alert. Choose the duration based on the sensor's reporting behavior and your room observations.
- Enable offline or low-battery alerts when supported. Test delivery using the manufacturer's test function or a temporary threshold, then restore the intended setting.
Expected result: You receive a warning when the measured room conditions cross your inspection threshold, without using that warning to interrupt appliance power.
Which control approach fits your room?
| Approach | Best for | Benefit | Limitation |
|---|---|---|---|
| Built-in humidistat | Automatic room moisture control | Runs moisture removal without a separate automation account | Measures conditions at the appliance and still needs working drainage |
| Separate sensor alert | Remote awareness and independent measurement | Warns you to inspect rising humidity | Does not remove moisture and depends on supported notification delivery |
These approaches complement each other. Use the built-in humidistat for control and the separate sensor for awareness. Neither detects a plumbing leak beneath the rug unless you add a suitable water sensor at that location.
Troubleshooting
The appliance runs, but humidity stays high
Check open windows, blocked airflow, water collection, and the appliance's operating limits. Confirm that the equipment is appropriate for the room under the manufacturer's sizing guidance.
Look for continuing moisture sources. A leak or damp building material needs correction; changing the humidity target does not repair it.
The appliance reading is low, but the separate sensor reads high
Move the separate sensor away from moisture sources and check whether the appliance sits in an isolated pocket of air. Compare the instruments in the same location using their settling instructions, then restore representative placement.
Do not assume either reading is correct solely because it is lower. Check documented accuracy and calibration guidance before adjusting the target.
Moisture removal stops unexpectedly
Inspect the tank, drain route, operating mode, and any displayed fault using the manual. A full tank or drainage problem needs correction before automatic control can resume.
After a power interruption, verify the appliance's actual state. Do not assume it retained its settings or restarted.
Alerts arrive late or not at all
Check sensor power, connectivity, notification permissions, and threshold settings. Test the alert path again rather than relying on a dashboard that still displays an old reading.
For your 2026 maintenance routine, include notification testing after network or phone changes. An alert workflow only helps when the warning reaches you.
The room reading is normal, but the rug smells musty
Inspect the underside, pad, and floor for localized moisture. Stop using fragrance or powder to cover the smell.
If you find visible suspected mold, substantial wetting, or persistent dampness, arrange professional assessment. Avoid vacuuming suspected mold or directing a fan across it.
Customize your workflow
Expand coverage by moisture source, not by adding more controls to the same appliance. A suitable leak sensor near plumbing can warn about liquid water, while a room humidity sensor measures moisture in the air.
After wet cleaning, inspect the rug, pad, and floor separately before returning everything to normal use. Do not roll up a damp rug or cover it to hide a problem.
Atlanta Designer Rugs' designer area rug selection includes different materials and constructions, so follow the instructions for your exact rug. A wool blend is not automatically cared for in the same way as an all-wool rug, and hand-tufted construction does not establish the backing material.
FAQ
What's the best way to protect a wool rug from humidity automatically?
Use a dehumidifier with a built-in humidistat and verify room conditions with a separate hygrometer. Keep drainage working and inspect the rug if moisture, odor, or staining appears.
What humidity should I aim for around a wool rug?
Use EPA's indoor moisture-control guidance: ideally 30–50% relative humidity and below 60%. These are room-control recommendations, not guaranteed damage thresholds for an individual rug.
Can I use a smart plug to turn my dehumidifier on?
Use an external smart plug only when the dehumidifier manufacturer permits that control method and documents restart behavior. The built-in humidistat avoids relying on power switching to operate the appliance.
Does a wool rug need a waterproofing spray?
A waterproofing spray does not control indoor humidity. Do not apply a treatment unless the rug's care instructions explicitly permit it.
Will a fan protect my wool rug from humid air?
A fan alone does not remove moisture from indoor air. Use moisture removal for humidity control, and do not direct a fan across suspected mold.
Does normal room humidity mean my wet rug is dry?
No, a room humidity reading does not measure moisture inside the rug, pad, or backing. Inspect those layers and obtain professional help for substantial wetting or persistent dampness.
Where should I place the humidity sensor?
Place the sensor in representative room air away from direct sunlight, vents, windows, and the dehumidifier's discharge. Follow its mounting and settling instructions.
One last thing
The most useful check is beneath the rug, not on the dashboard. A comfortable room reading does not rule out a damp pad or a localized leak. Include that accessible underside check in your 2026 routine, especially after cleaning or a moisture incident.


